$TEST<>USDC trading pair as the swap guide. In fact you’ll need both USDC and $TEST to be able to add liquidity so make sure you check that guide out first!
Go ahead and to navigate to the $TEST<>USDC page to get started.


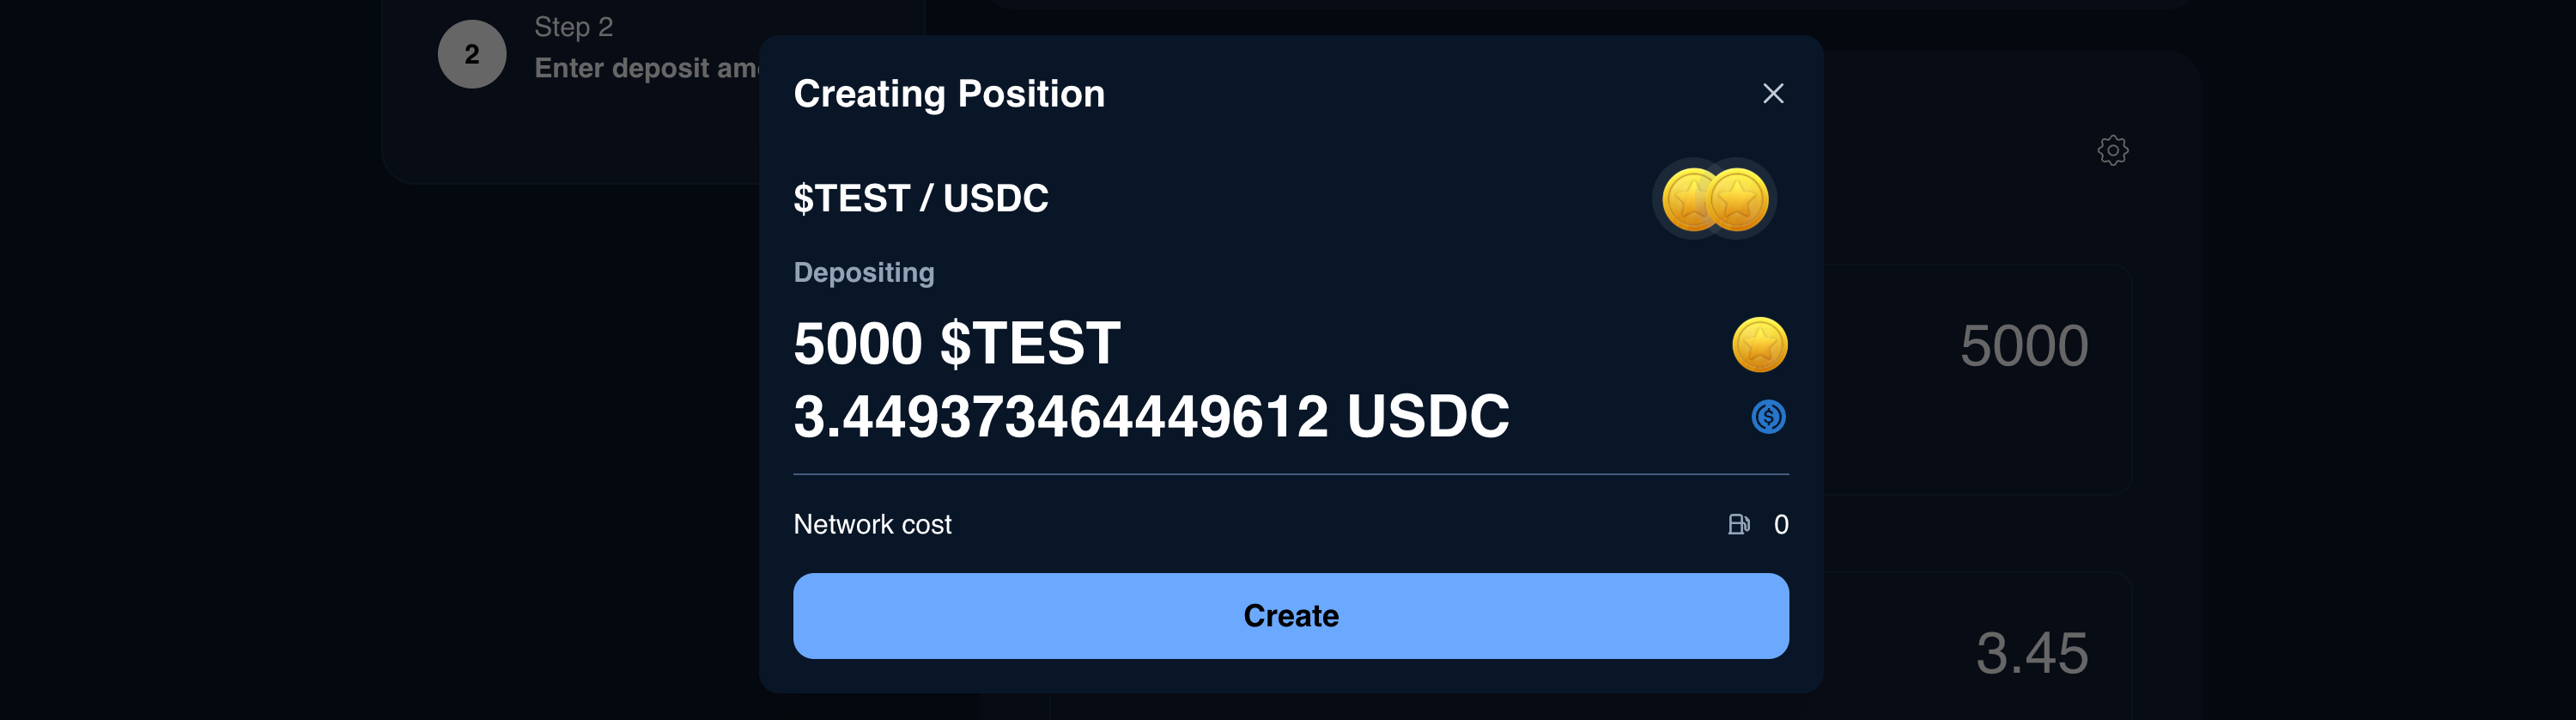

How to add liquidity to existing pool using the UI
$TEST<>USDC trading pair as the swap guide. In fact you’ll need both USDC and $TEST to be able to add liquidity so make sure you check that guide out first!
Go ahead and to navigate to the $TEST<>USDC page to get started.